Who This Is For (and Why Automating the Mockup Process Matters)
If you’re a:
- Promotional product distributor (PPD)
- Contract decorator / print shop
- Custom merch program owner
- Apparel brand selling B2B or DTC
…you already know the pain: every new order triggers a tedious loop of “Can you mock this up?” → “Can you move the logo?” → “Can you send a proof for sign-off?”
That manual loop kills deal velocity.
By streamlining the mockup and proofing process, you deliver faster, more accurate visuals to your customers, improving their overall experience and satisfaction.
This guide answers:
- How do I automate apparel mockups?
- How do I automate proof approval with clients?
- What tools help sales teams send production-ready visuals instantly?
Let’s walk the workflow.
Introduction to Online Proofing
Online proofing has become an essential part of the creative process for teams working in design, marketing, and apparel. By leveraging online proofing tools, creative teams can streamline approvals, minimize manual editing, and automate repetitive tasks that once slowed down projects. These platforms make it easy for high quality mockups to be created quickly and easily for t shirts and other apparel, ensuring that every design meets brand standards before it ever reaches an online store or customer. With the ability to generate quality apparel visuals quickly, teams can showcase their products with confidence, enhance their brand’s visual identity, and keep the proofing process moving efficiently from concept to final review. Whether you’re launching a new collection or updating your marketing materials, online proofing tools help teams collaborate, review, and approve designs with speed and accuracy.
Who’s Using Online Proofing Tools?
A wide range of users rely on online proofing tools to manage their creative projects. Designers and marketing teams use these platforms to upload files, create mockups for t shirts and other apparel, and ensure every design aligns with brand standards. External users like clients, stakeholders, or partners, can easily join the proofing process, review documents, and provide feedback—all within a single platform. These tools support various file formats and any file type, and offer automated workflows, making it simple to track approvals, manage deadlines, and collaborate on projects of any size. By centralizing the proofing process, teams can efficiently manage files, streamline communication, and deliver high quality results that meet both internal and client expectations.
Step 1: Centralize Mockup Creation Instead of Rebuilding From Scratch

The old way:
- Salesperson emails art to a designer.
- Designer drops it on a template.
- Exports a PNG.
- Sends it back.
- Client asks for “one small tweak.”
That’s 24–72 hours gone, on a job that might not even close.
The scalable way:
- Sales reps use a mockup generator app or integrated apps to quickly create new mockups themselves in minutes.
- The visuals are automatically production-accurate.
- Creating and editing a new mockup takes seconds, not a day, making it easy to modify and update visuals as needed.
To do that, you need tooling that’s:
- Browser-based
- Fast to learn
- Linked to real garments
Many platforms also offer a library of templates and assets, streamlining the process of creating and customizing mockups.
This is where platforms like SEDDI Decorator change the game, with an app that provides cool, visually appealing previews to help sales teams impress clients.
Step 2: Use Real Garments and Real Print Zones (So Production Doesn’t Push Back Later)
One reason mockup → proof → approval → production breaks down is that the initial mockup isn’t technically printable.
Example problems:
- Art is placed in a spot that shop won’t hit. Users may need to modify artwork placement or size to ensure it fits within printable areas.
- Sizing doesn’t hold across S to 2XL.
- Ink style shown in the proof isn’t what the shop can actually do.
To eliminate that drama, you want your mockup tool to:
- Use actual garment silhouettes from known blank suppliers
- Lock you into standard decoration regions (left chest, center front, sleeve hit, etc.)
- Scale artwork consistently across sizes
Users of Decorator™ can:
- Start with true-to-life 3D blanks modeled from real cut-and-sew data of top blank apparel brands
- Drag artwork into production-valid print regions and apply printing techniques, all which gets funnelled into an automated accurate to spec tech pack
- Instantly preview plastisol, puff ink, embroidery, etc. in realistic 3D
- Share links to interactive 3D apparel products internally and externally for comment or editing, and get to a “yes” fast
This means the first visual you send the buyer is already aligned with how you’ll decorate it. Less back-and-forth, and more, “when do you want those delivered?”
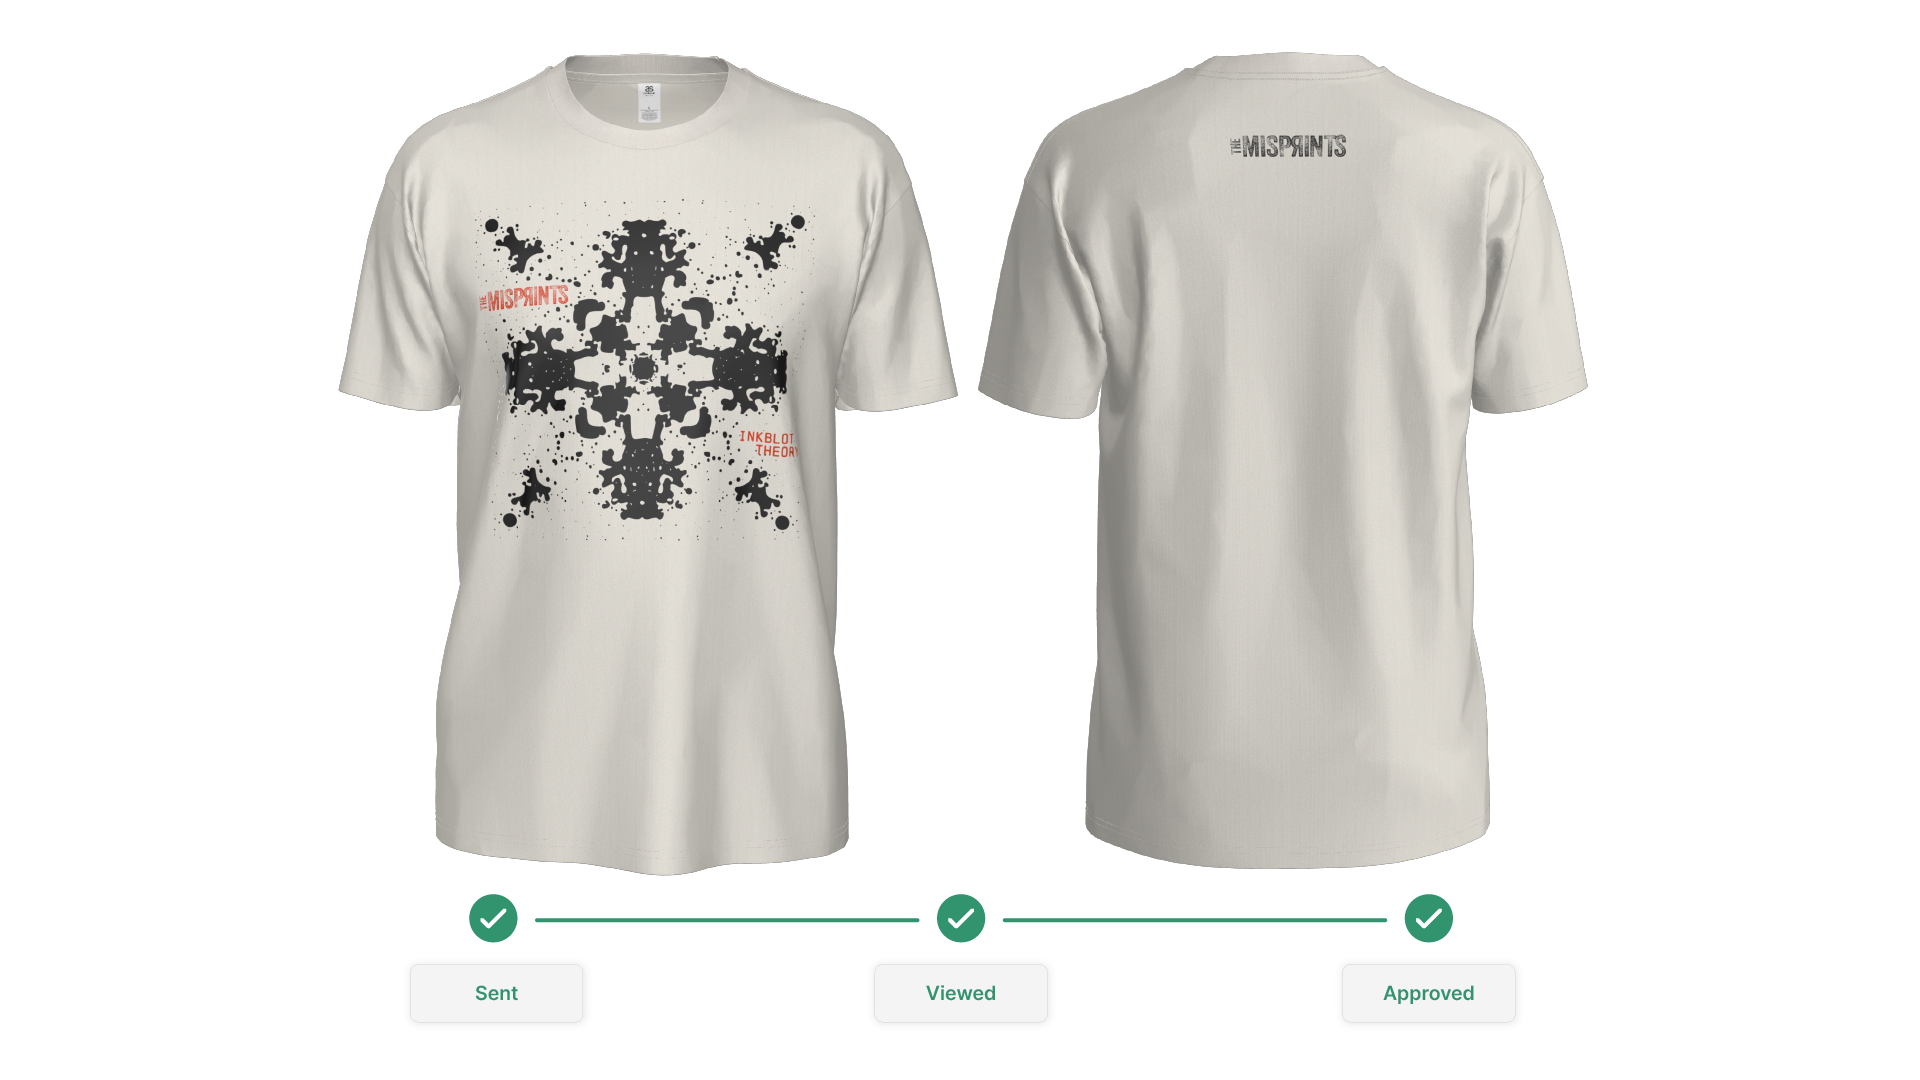
Step 3: Automate the Proofing Loop With Shareable, Commentable Previews
Manual proofing usually looks like:
- Send a static PDF
- Client screenshots it, circles an area, emails back
- You try to interpret what they meant
- You generate v2, v3, v4…
That’s where deals slow down.
Instead, modern proofing should feel like this:
- You send an interactive preview link.
- Buyer can rotate, zoom, and view the garment from all angles.
- Buyer leaves comments directly on the mockup image.
- You adjust placement/scale in seconds and resend.
- Users can review high resolution images and proofs, with all project details easily accessible within the platform.
- After making adjustments, you can download the updated mockup or proof for record-keeping or sharing.

Decorator supports this flow: you don’t have to export 10 versions into email chains. The comments and collaborative reviews happen in one place, attached to the exact visual image they approved, and each user can leave feedback directly on the image.
That difference alone can take a proof cycle from 3 days to 30 minutes.
Step 4: Auto-Generate Production Instructions (So Handover Isn’t Manual)
After you get approval, someone still has to turn that proof into something the production team can actually run. Usually that means:
- Screenshots
- Guessing sizes
- Re-measuring placement in Illustrator
- Sending “final-final” PDFs around
That’s error-prone and it wastes operator time.

With a platform like Decorator, once the buyer signs off:
- Placement, scale, decoration type, and color info are already captured
- You can export production-ready specs / tech pack data, reducing the need for printing physical proofs and supporting consistent branding across all orders
- Production instructions can include a set of reference photos and proofs to ensure accuracy
- You hand that directly to print / embroidery without rebuilding anything
This kills two birds:
- Fewer production mistakes
- No “what did the client actually approve?” arguments
Step 5: Turn This Into a Repeatable Sales Engine
When you automate mockups and proofing, you’re not just saving designer hours, you’re compressing your entire sales cycle.
Here’s what that looks like in practice:
- Same-day quoting
Sales can show “here’s exactly how it’ll look on your people” on the first call.
- Instant upsell / cross-sell
“Here’s the hoodie. Want hats and totes in the same theme? Here they are.”
- Faster PO commitment
Clients say yes faster when they feel ownership of the design.
- Cleaner pipeline forecasting
Deals stop stalling in “waiting for proof approval,” because approval is effectively built in.
By offering free mockups and high resolution images for download directly from your website, you make it easy for customers to access professional visuals at no cost, improving their experience and attracting more potential buyers. Your site provides a seamless experience for showcasing, editing, and publishing high-quality mockups and product images, with ongoing improvements to the site’s quality and user interface that help elevate business branding and advertising efforts. Using 3D image outputs from Decorator you can power your entire website’s e-commerce visuals. It makes it simple to deliver custom, high-quality images and assets quickly.
For promotional and branded merchandise companies and contract decorators, this is huge. Whoever moves fastest with confidence tends to win the work, especially for corporate merch, team uniforms, event apparel, and last-minute rush orders.
Best Practices for Online Proofing
To get the most out of online proofing, it’s important to establish clear best practices. Start by setting defined deadlines and a structured approval process to keep projects on track. Make sure all stakeholders have access to the proofing platform and understand their role in the review process. Leverage collaboration tools and technology to gather feedback, track revisions, and maintain quality throughout the project. By following these best practices, teams can streamline their approval process, reduce errors, and consistently create designs that reflect the brand’s vision and quality standards.
Where Automation Delivers ROI
- Time to approval
- Manual: 2–5 days for proof turnaround
- Automated: under an hour, often live on the call
- Internal cost per opportunity
- Manual: every deal touches design and production pre-sale
- Automated: sales can self-serve visualizations without tying up production
- Error rate
- Manual: “The logo placement isn’t right. We wanted it 1 inch lower than the proof you sent me.”
- Automated: The final approval is already mapped to real print zones and captured
- Client experience
- Manual: “Can you mock this up for my VP so she can visualize it?”
- Automated: “Here’s an interactive 3D preview. You can zoom in and spin it, to see all the fine details.”
This is how you look frictionless and buttoned-up.
Measuring the Success of Online Proofing
To truly understand the impact of online proofing, teams should track key metrics throughout the approval process. Monitor approval times, error rates, and stakeholder satisfaction to gauge the efficiency and quality of your proofing process. Compare these results to previous manual editing workflows to identify improvements and areas for further optimization. Tracking ROI is also essential—streamlining the approval process and reducing manual editing can save time, lower costs, and boost the overall quality of your designs. Ultimately, the success of online proofing is measured by how well it enhances collaboration, improves workflow efficiency, and drives business results.
What You Actually Need to Automate This
To truly automate mockups and proofing, you need a tool that gives you:
- Real garments in 3D (not flat, generic clip art)
- Accurate decoration placement tied to production reality
- Interactive previews you can send to clients
- Built-in commenting and versioning
- Instant export of production specs / tech pack data
That’s exactly where SEDDI Decorator fits. It was built for decorated apparel workflows, not generic “design software,” which is why sales reps, account managers, and production teams can all use it without hand-holding.
Key Takeaways
- Your mockup and proofing process is either your biggest sales accelerator or your biggest choke point.
- The teams who win quotes fastest are rarely the cheapest — they’re the ones who make approval painless.
Automating mockups and approvals with a platform like SEDDI Decorator lets you sell with confidence, minimize back-and-forth, and get to production sooner.